

Here's how to take it in so it fits like a normal tee.
1. Start with your shirt- I have already cut off the neck, do so if wanted. It depends on how tight it is around your neck. Mine was pretty tight, so I cut it off.
2. Turn the shirt inside out and smooth it on a floor or table. Make sure there are no creases or folds in the fabric.

3. Place a normal t-shirt (or one you've already taken in, in my case) onto the shirt. Line up the SHOULDERS and the top of the sleeves FIRST. Then smooth it out all the way, making sure there are no creases or folds.

4. Draw with a marker around the edges of the shirt on the following places: under the sleeves, down the sides of the shirt. Go all the way to the edges of the working shirt, not the model shirt. (See picture below)

5. Remove the model shirt. Pin directly on the lines.

6. Sew all along the lines, making sure to stay right on the lines.

7. Turn the shirt right side out. DO NOT FEAR! I know it will be all bunched up-this is due to the extra fabric inside the shirt! We'll fix this in a minute. First, try on the shirt and make sure it fits. If it doesn't, make adjustments with a marker and sew again.

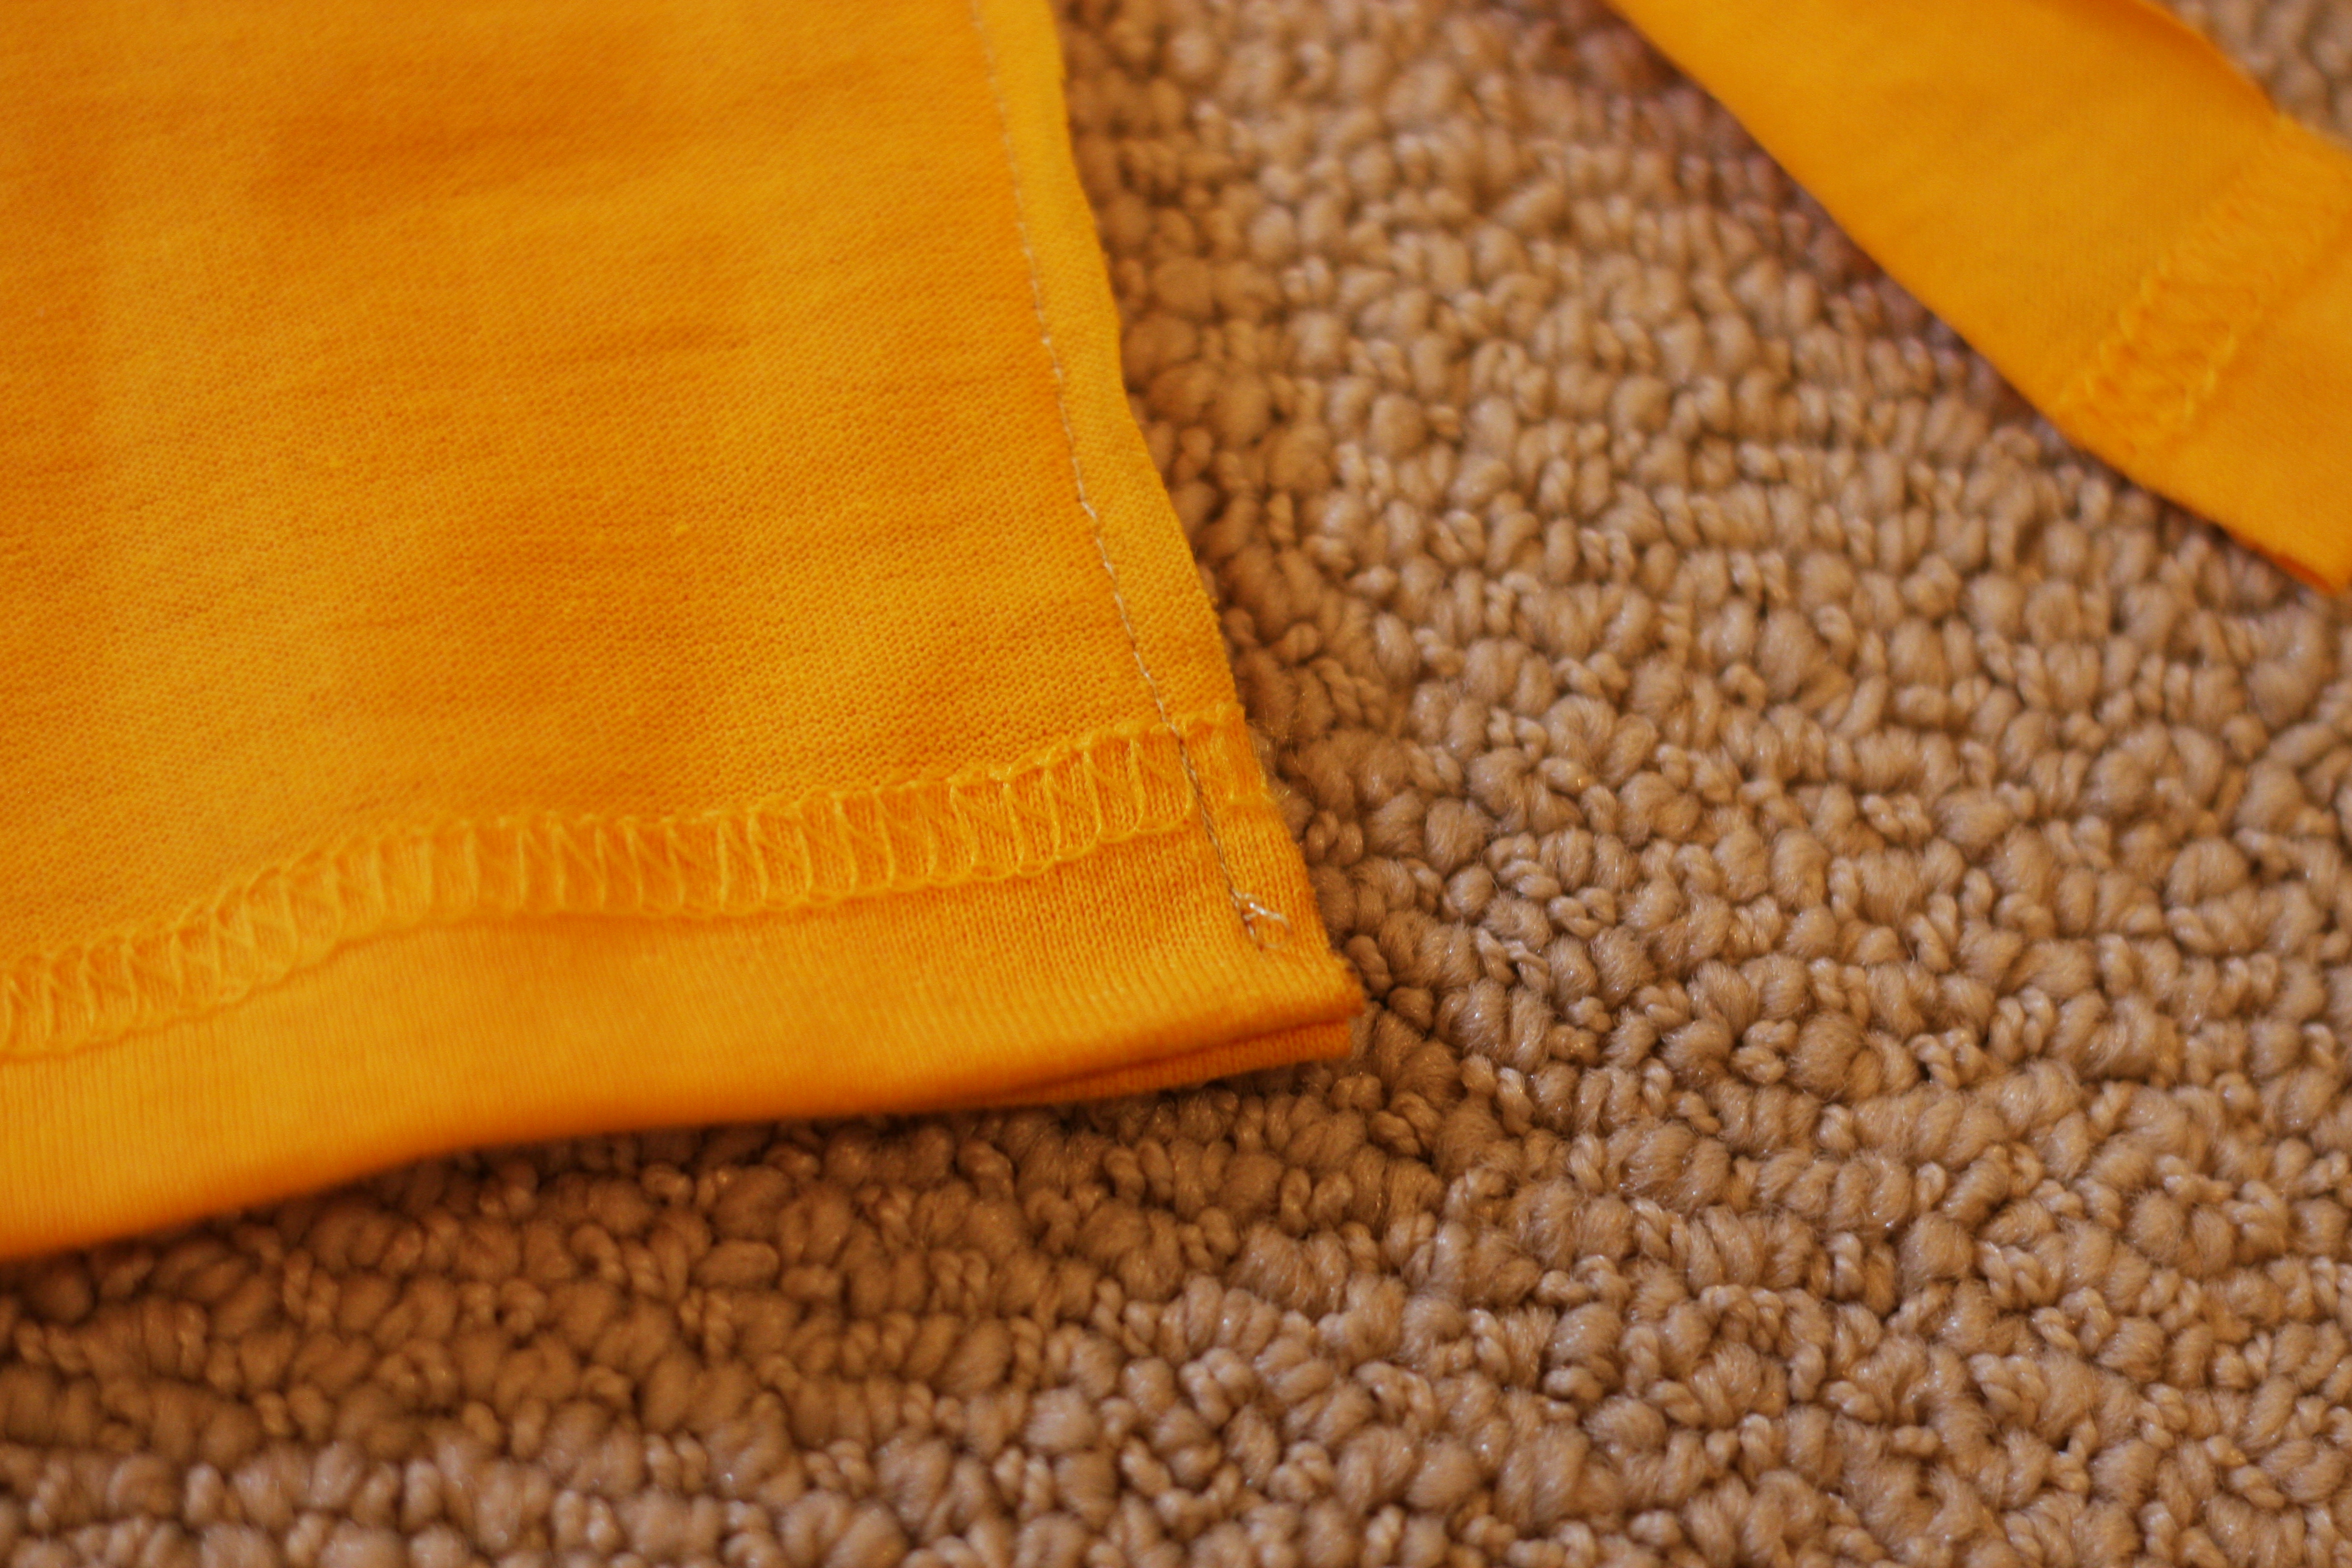
8. Turn the shirt back inside out and cut off the excess fabric on the outside of the sewn edge. Also to the sleeves!

9. Turn the shirt right side out and try it on one more time. If there are bubbly parts, turn it back inside out, and mark/pin/sew it again.

11. Congratulations! You took in the shirt! You can also hem the neckline and shorten the bottom if wanted/needed.

~Ashley
No comments:
Post a Comment